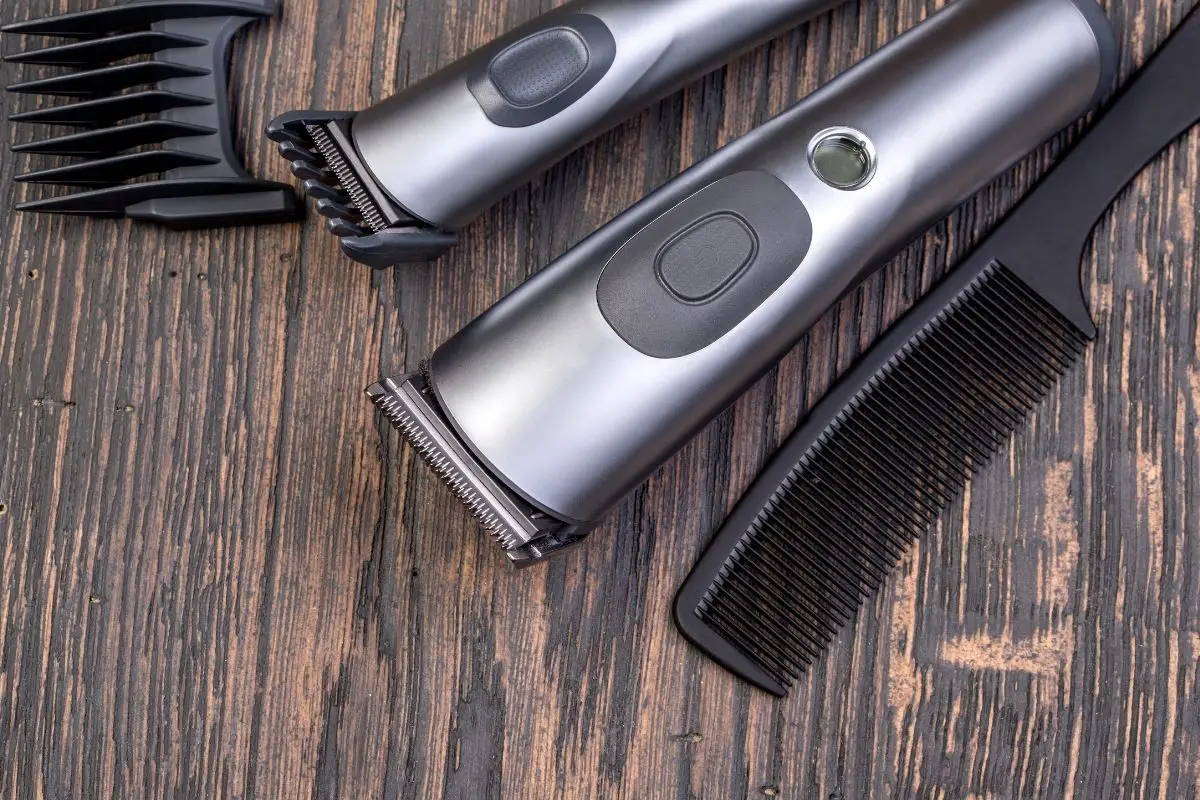
Every barber, hairdresser, and anyone cutting their hair needs to get the best out of their clippers. Considering how often they get used, you really should be cleaning and maintaining them.
Not only to make them last but to maintain a proper level of hygiene and achieve the best trimming results. One day you may notice that your clippers are just not doing the job properly, they may even break.
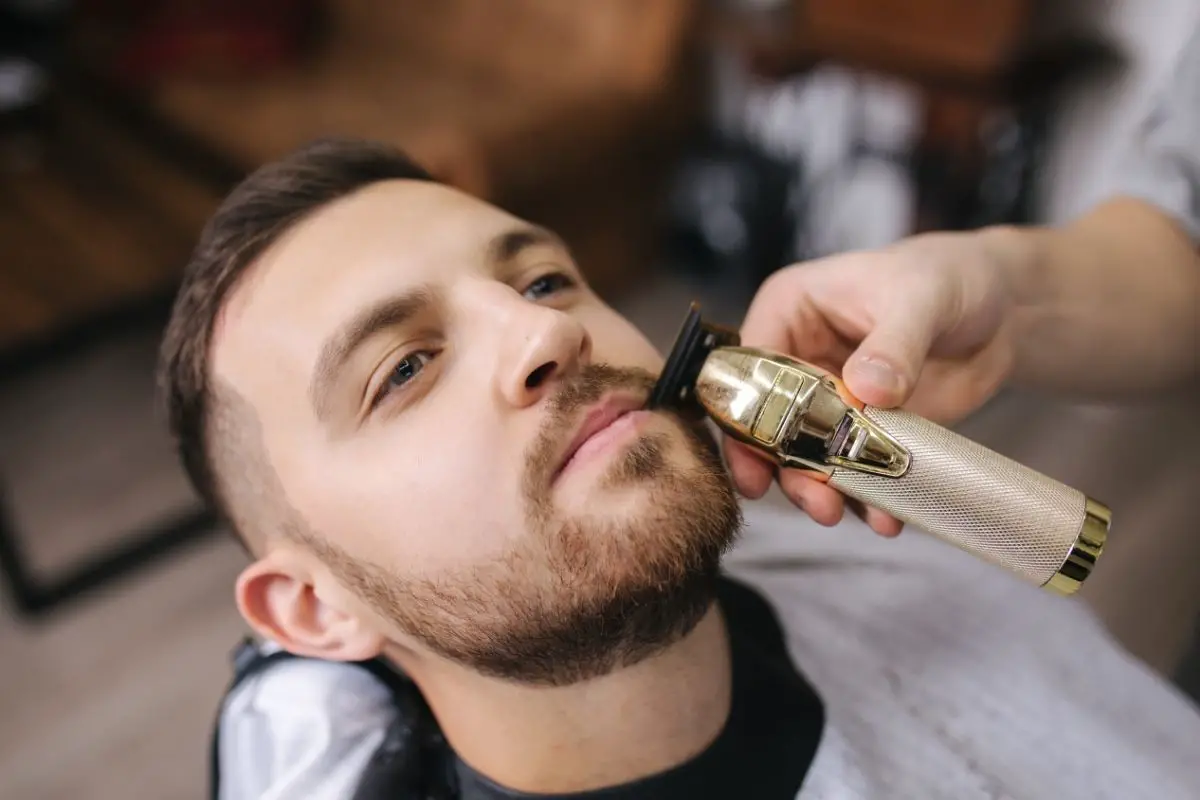
Once your hair clippers become dirty, you need to take some action to prevent any inconsistent results. If you cannot trim your hair as you want, that is not good for you or your hair. That is even more of a problem if you cut hair for paying customers.
All those bits of debris, skin, and product after each trim can damage the clippers over a matter of months, even days if they are used regularly.
Try not to even consider the microorganisms and bacteria particles that could be lurking in between the blades. If the damage is already done then you may have to replace the hair clippers before they cause an injury.
In this guide, we will look at several ways to clean hair clippers. Whether they are mains-operated or battery-powered, you should be looking after them regularly. A thorough clean should be performed to make sure they trim hair just how you want them to.
There are three essential steps to cleaning your hair clippers. These start with cleaning the blades and their guards, lubricating the blades, then sanitizing your clippers.
Try your utmost to maintain your clippers and they can last for years. There is little excuse for dirty equipment so let’s get those clippers clean.
Remove Any Build-Up Of Hair
This is a fairly obvious first step yet ensuring that any build-up of hair is removed is vital to keeping those blades sharp enough to trim effectively. Blades that are clogged up by leftover hair and debris after each trim will become increasingly blunt.
If the blades eventually become dull, they can become ineffective to cut any hair as effortlessly fast and smooth as they should. The motor can become overworked if you are struggling to achieve the results you want due to dull blades.
You may even end up with patchy trims and a painful scalp as the clippers snag and pull on the hair instead of cutting it effectively.
Use our steps below to remove any hair build-up in your hair clippers.
- Make sure that the clippers have been turned off and removed from any mains outlet.
- There may be a dedicated storage compartment to collect any loose hair. If there is, simply empty it into the garbage.
- To remove any build-up of hair without creating a mess, use a clean towel or fabric to use as a working surface.
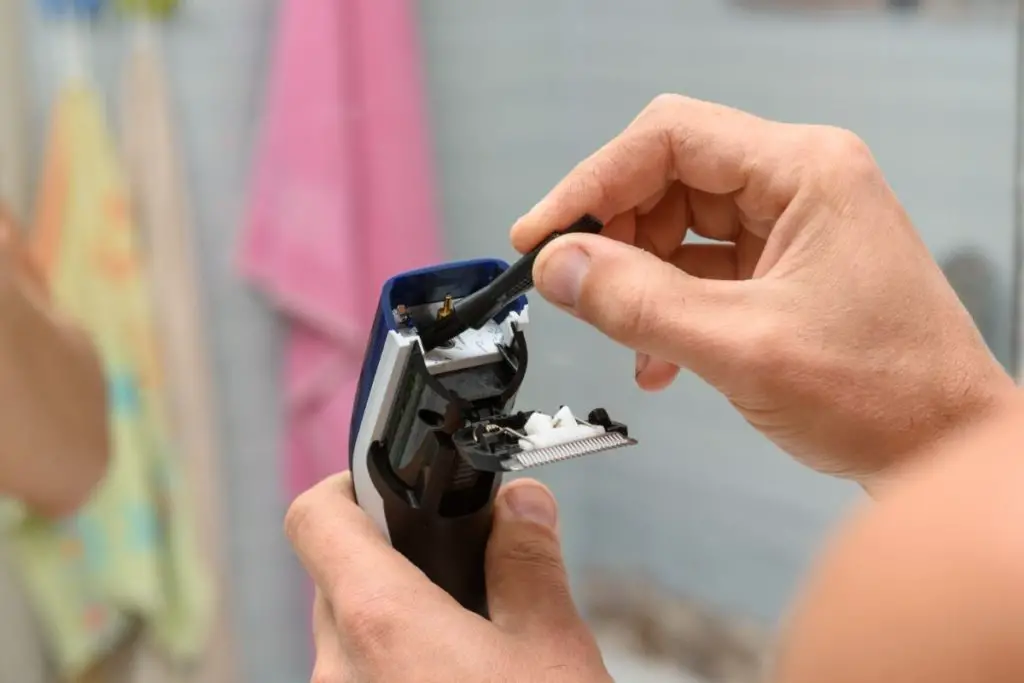
- Detach the blade cover and inspect the blades. If there are some visible hairs, brush them away with a large, soft hairbrush. This should remove the most obvious debris from the hair clippers before you can get into the nooks and crannies.
- If you do have a small brush that came with your hair clippers then this is the time to use it to get in between the blades. You can also use a cosmetic brush, a fingernail brush, or a wire brush for those hard-to-reach places. Maybe a discarded toothbrush could prove handy too.
- If your hair clippers have detachable blades, there should be instructions about removing them. You may need some household tools like a flat head screwdriver though you would be advised to take a photo of the clippers before you take them apart. This is just so you know where certain parts go in case you are unsure. Be careful as once they are off you need to know how to get them back on. The blades should pop out and be detached without much effort.
- Wipe away any dust or additional debris from the blades and the clippers. Do not use any loose, fibrous material like a towel as fibers can fall off into the crevices of your clippers.
- To be extra sure of a good job, use some compressed air from a can to blow away any hidden hairs. This is the same stuff you might use on your computer or keyboard to do a thorough cleaning job of debris. You may be surprised by how much hair comes flying out.
- Once you are happy with the cleaning job, put the blades back to their original position and screw the clippers back together.
- Put the blade cover back on so your clippers remain protected.
Clean The Clipper Guards
There are likely several clipper guards that you use regularly and they need cleaning too. Any accumulation of grease or products on the guards can prevent a good, clean cut.
When left to dry, any particles or deposits can act like sand in a machine. If those particles remain on the clipper guards then they can find their way into the blades and the motor. Eventually, all that necessary friction will be lost and the blades will be dulled.
Here’s how to clean the clipper guards.
- Remove the guards from the clippers and hand wash them in some warm water with a bit of cleanser mixed in.
- Any hair or grease should come straight off but give them a quick inspection for any missed spots or simple wear and tear. Rinse off any cleanser with some running tap water.
- If there are any large gaps in the clipper guards then you may want to replace them as these will result in inconsistent cutting and, eventually, inconsistent results.
- Dry the clipper guards on a towel, ideally air dry them overnight so they are fresh to use the next morning.
Clean The Clipper Blades
If you want to do a more thorough job then you should detach the blades to give them an individual clean. For this, you can use a specific clipper blade cleaner which is a solution you can buy that can clean your blades, lubricate them, and then disinfect them.
To clean your clipper blades you only need a few milliliters of the solution in a container, maybe even the container that the clipper blade cleaner comes in. The substance may look luminous blue but it is really simple to use.
Use our guide below to clean your clipper blades. Remember to check your user manual and follow the instructions in there to correctly clean the blades.
- Wear some plastic or rubber gloves and turn the clippers on.
- Slowly dip the clipper blades into the clipper blade solution and watch as the hairs fall off.
- Dip the blades in and out a few times for a total of around twenty to thirty seconds and your blades should look visibly clean.
- Let the blades drip off any excess solution then use a cloth to dry the blades and leave them to air dry for an hour or so.
- Throw away the used solution and attach the lid back onto the container if you used it.
These clipper blade cleaners tend to be used by heavy-duty barbers as they provide a quick service so they are ready for the next customer.
For anyone who uses their hair clippers at home, you should be able to find the time to periodically clean, lubricate, and disinfect your hair clippers. While household products can do the job, a specific clipper blade cleaner is designed to be long-lasting.
Lubricate The Blades
Any machinery that uses moving parts requires some regular lubrication to work properly. Not too much and not too little, but just the right amount applied at regular intervals can maintain your hair clippers and keep them producing the desired results.
The reason for lubrication is quite simple, clipper blades can deteriorate when exposed to moisture, air, and simply from the friction of everyday use.
When lubricated with specific clipper oil, the blades can retain their sharpness and remain protected from rust.
If you do not regularly lubricate the blades then they can end up breaking the hair clippers themselves. Ensure that you use a specially designed clipper oil as the consistency can vary with other machinery oils.
If it is too thick it can clog the motor and prevent the blades from moving at all.
Should you want to maintain pain-free operated hair clippers then lubrication is essential. Well-lubricated hair clippers should mean no tugs on the odd strand of hair when they get stuck between dull blades.
Hair trimming is ideally a slick operation and you want it to remain so by regular lubrication. Here’s how you lubricate the blades of your hair clippers.
- Turn on the hair clippers, then apply a couple of drops of clipper oil directly onto the blades. One drop in the middle of the blades then another at one end. That placement will help to distribute the oil to make sure there is even coverage. You only want a small amount as any excess may leak into the engine and cause a malfunction.
- Keep the clippers on for a few seconds and all the fast movement of the blades should make sure they are lubricated.
- Turn off the clippers and if there is any excess clipper oil on the blades or clippers, wipe that away with a dry cloth.
- Make sure none of the fibers from the cloth get into the blades and you should have a nicely lubricated set of blades.
Sanitize The Hair Clippers
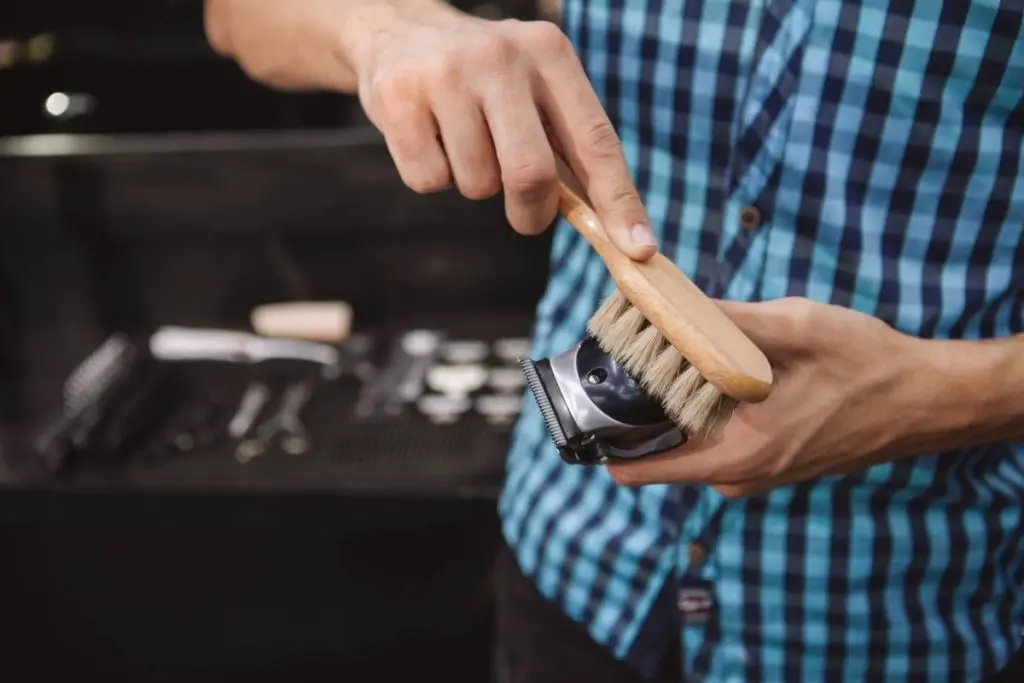
Once the hair build-up has been removed and those blades are cleaned and lubricated, you can look to sanitize the blades. This step does not need to be performed as regularly as removing the hair build-up yet is a good habit to get into as a proper deep clean.
If it is only you operating the hair clippers on yourself, or lending them to other members of your household, you will want to sanitize them to prevent contamination.
If you are the sole user of the hair clippers then you should consider sanitizing them twice a month. Of course, if you work in a barbershop then you should be sanitizing your hair clippers at least once a day to be safe.
If you suffer from any redness or itching of your scalp after using your hair clippers then you certainly should consider sterilization. There are various substances that you can use to sanitize your hair clippers.
Rubbing Alcohol/Liquid Disinfectant
When shopping for rubbing alcohol, try to find one that has a 70% isopropyl alcohol content. This is ideal for sterilizing clipper blades as it will remove that bacteria. If you cannot find rubbing alcohol then you can create a solution using a liquid disinfectant.
- Pour a quarter cup of rubbing alcohol (or liquid disinfectant) in a container that is big enough to contain the blades.
- For detachable blades, you can simply let them soak in the solution and leave them for around 30 seconds. If you want to keep the blades on the clippers then ensure that the batteries are removed and the clippers are unplugged from any mains outlet. You only want to make sure that the blades are covered in the solution, not the clippers themselves.
- Use plastic or rubber gloves to remove the blades from the solution and gently wipe them with a dry cloth.
- Allow the blades to air dry on the cloth overnight.
- Lubricate the blades after drying and before you reattach them onto the clipper head.
White Distilled Vinegar
If you simply want to use a household kitchen cupboard item then white distilled vinegar can do a job too. You should have some in your home for an easy way to clean the microwave or the inside of your fridge.
This acidic solution is ideal to remove bacteria or any mold organisms that can be contained in a set of hair clippers, it is also pretty cheap. The product is also safe to use as opposed to more dedicated sanitizing solutions and products.
Just ensure that the blades are dry before you add any lubricating oil or put them away. Any vinegar that is left on may rust or corrode the blades. Here is how you can do this.
- In a container, mix together equal parts of white vinegar and water.
- If they are detachable, remove the blades and then let them soak in warm water for around ten minutes. Should you want to keep the blades on, ensure that the clippers are off and unplugged or the battery is removed. As with the rubbing alcohol, you only need to make sure that the blades are sitting in the vinegar. You certainly do not want to get any vinegar into the motor of your clippers.
- Drop the blades into the vinegar solution and let them soak for around fifteen to twenty minutes.
- Wipe off any excess solution, rinse the blades in some running water, and pat them dry with a cloth.
- Allow them to further air dry on the cloth overnight and then lubricate them before reattaching.
Clipper Spray
Whenever you go to get a trim from a barbershop, you should notice that the hair clippers get a little spray beforehand. This is a simple way for barbers to sanitize their hair clippers before the next customer.
For barbers in the US, it is a legal requirement to use clipper spray-on hair clippers as a method of disinfecting. The spray not only removes bacteria, fungi, and germs but dirt from between the blades too.
This is a tailored spray that also helps protect the blades from rust and mildew so it is crucial, as well as mandatory, for a barber to spray it before each use.
If the hair clippers are getting extended use throughout the day then, like any stainless steel machinery, they may become hot. Spraying them with clipper spray helps to keep them cool.
You can buy yourself some clipper spray for home use to prevent the spread of bacteria, keep your clippers clean, and reduce wear and tear. Clipper sprays are ideal for a quick application to maintain your hair clippers yet also make them smell fresh too.
Blade Wash Spray
If all that separate cleaning, sanitizing, and lubricating sounds like too much effort then shop around for a dedicated liquid blade wash solution. Several leading hair clipper manufacturers have worked out that you can use one product to maintain your hair clippers at once.
There is a Blade Care Spray by Andis and a Spray Coolant from Oster. Both products can help rid your clippers of hair build-up while also lubricating and decontaminating the blades themselves.
There is no specification with using either branded blade wash solution, the Andis Blade Care Spray will work on a Wahl or Oster set of hair clippers and vice versa for Oster’s Spray Coolant. The products are simply designed for use with any hair clippers.
The spray is easy to apply and it can all be done in about ten seconds and can lead to a longer-lasting set of hair clippers as the spray prevents rust too. If you are struggling to get rid of the last few hairs then an all-in-one spray can ensure that you finally get the job done.
Final Thoughts
Hair clippers are a long-term investment and getting your money’s worth means taking excellent care of them. Maintenance is key to ensuring a reliable performance that still means good value, whatever you paid for them.
Removing any hair build-up is generally just common sense to ensure good operation. The more essential maintenance steps are lubrication and sanitization for the best performance and to avoid any contamination.
You want to maintain the blades to prevent rust but also ensure that the area inside the trimmer is taken care of too. Loose hair, oil, and dirt can easily get stuck and clog up the motor.
Once the motor becomes clogged it can prove difficult to remedy and the likelihood is that tugging and pulling will become a regular occurrence. A good workman looks after his tools, and you should clean your hair clippers.
- Best Beards For Fat Guys – From Personal Experience - March 31, 2023
- Best Beards For A Rectangle Face Shape - March 31, 2023
- Best Beard For Diamond Shaped Face – Top Choices - March 31, 2023

